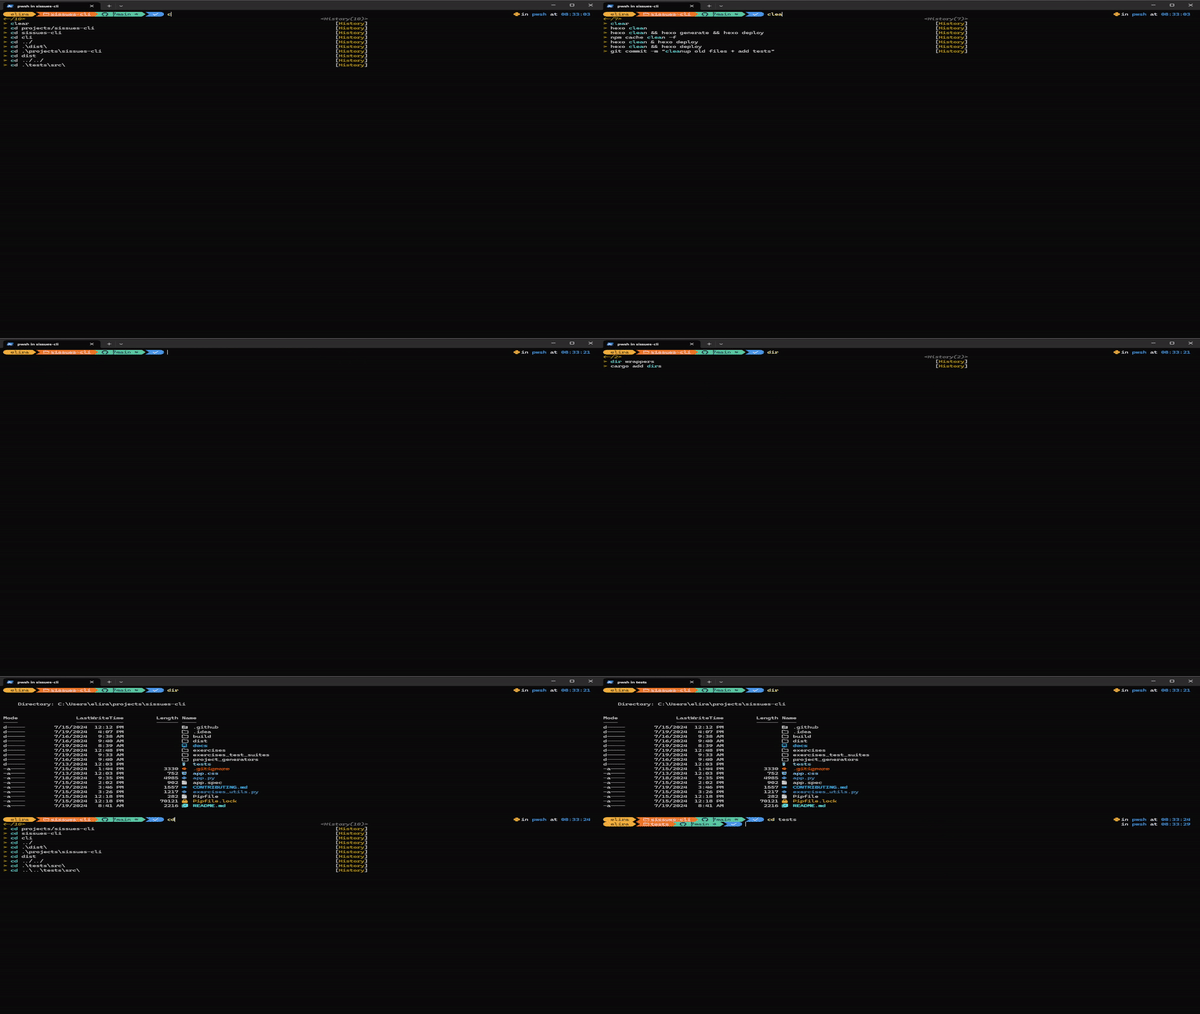
PowerShell Customization - Fonts, Prompts, and Autocompletion
Step 1: Install Oh-My-Posh
goto oh-my-posh windows installation page, or just execute the following
1 | winget install JanDeDobbeleer.OhMyPosh -s winget |

Step 2: Choose a Font
Totally optional, but if you want to get a specific font follow this section.
to install a supported font run the following:
1 | oh-my-posh font install |
I chose cascadia-code.

After installation is done click CTRL + SHIFT + , to open the terminal settings
Now add the font.face attribute under the profiles.defaults attribute
(change the font face to the font you downloaded in the previous step.)
1 | { |
Step 3: Applying oh-my-posh
To apply oh-my-posh shell to our powershell, we will need to adjust our $PROFILE file.
Open your $PROFILE file with
1 | notepad $PROFILE |
If you get an error that the file doesn’t exist - create it first with
1 | New-Item -Path $PROFILE -Type File -Force |
Add this line to the $PROFILE file
1 | oh-my-posh init pwsh | Invoke-Expression |
Save, and then on the terminal run the following command to reload your profile so that the changes take effect
1 | . $PROFILE |

Step 4: Customizing the prompt
There are many ways where you can customize the prompt.
You can browse themes here, and look different customizations under Segments section in oh-my-posh docs
I’m going to go with oh-my-posh’s author theme, so what we need to do is change the $PROFILE file again, replacing the line we added there before with the following line
1 | oh-my-posh init pwsh --config ~/jandedobbeleer.omp.json | Invoke-Expression |
Now lets reload our profile again.
If you are unlucky as I am, you might have gotten the below error too, luckily that’s simple to solve…

Run the following in powershell administrator mode
1 | Install-Module PsReadLine -Force |
After that, I closed my open powershell session, and when I opened a new one . $PROFILE works!
Step 5: Icons
If you want to add some icons to the dir list follow the following steps
before:

open powershell with administrator rights and execute the following
1 | Install-Module -Name Terminal-Icons -Repository PSGallery |
then open $PROFILE and add the following line
1 | Import-Module -Name Terminal-Icons |
Reload your profile with . $PROFILE, and now you have some icons when you execute dir / ls!

Step 6: Auto-completion (history-based)
Now when styling is out of the way, lets add autocompleteion based on our command history.
open powershell with administator rights and execute
1 | Install-Module PSReadLine -Force |
now add the following lines to your $PROFILE
1 | Import-Module PSReadLine |
and you should have autocompletion working!


🚨 Become a better software engineer. practice building real systems, get code reviews, and mentorship from senior engineers.
Get started with 404skill